The nest instinct

How to make a practical changing table with organisers that fits you and your baby!
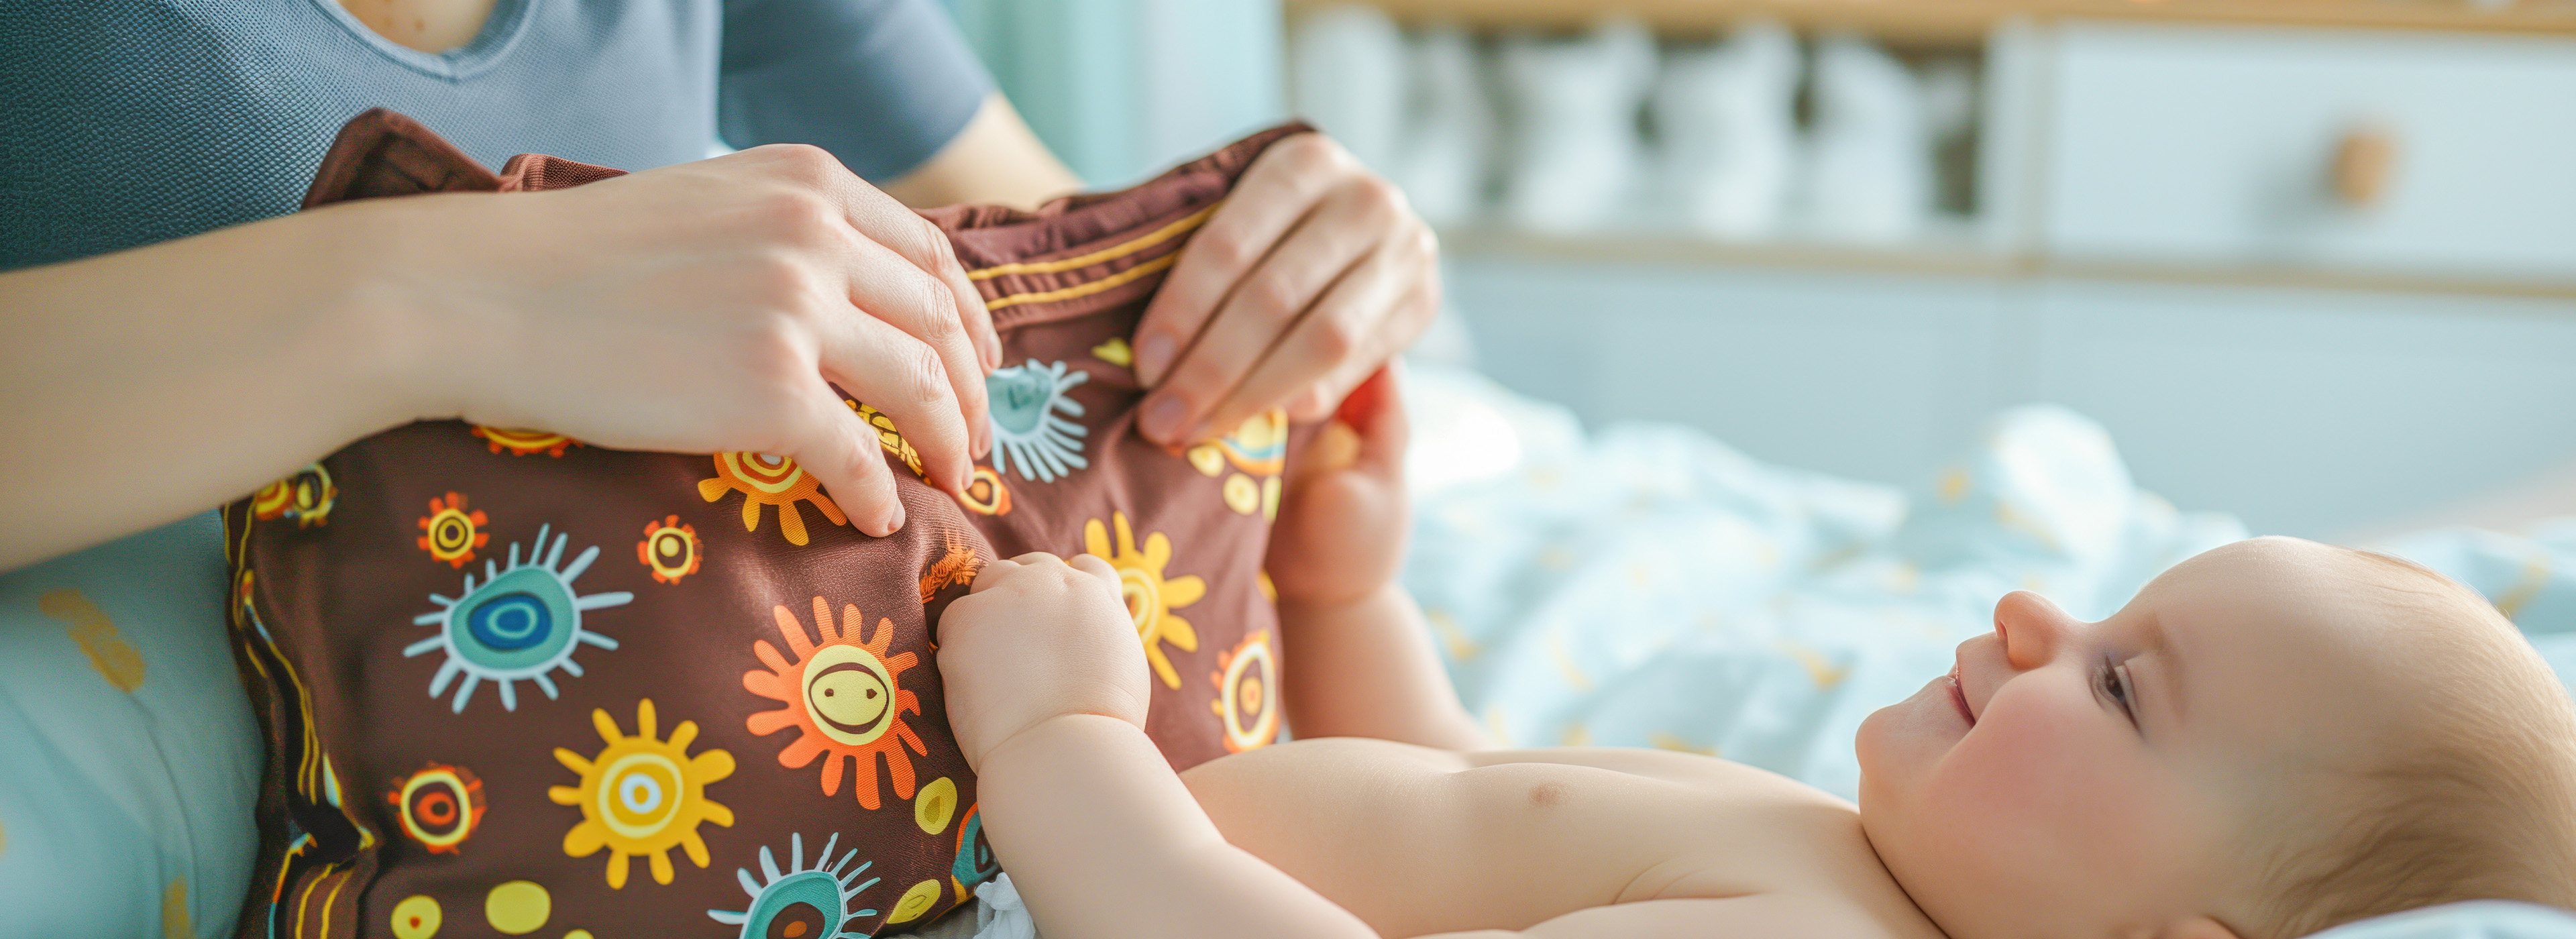
Diapers? Check! Baby wipes? Check! But where's the diaper changing cream again? Once the new family member arrives, these scenes will be a daily routine. There's always something missing! But it's actually not hard at all to make a super practical changing table yourself. Give it a try.
The changing table is at the top of the list of things you need for baby. However, it is often that they are too pricy, as well. So why not make it yourself? With a few boards and screws you can have a DIY changing table with compartments, perfectly tailored to your own needs. It fits in almost any dresser or on top of the dryer - depending on where your baby's toilet will be.
Materials:
- 1 rough board (115 x 80 cm, 2 cm thick) for the bottom
- 1 rough board (10 x 115 cm, 2 cm thick) for the back wall (80 x 115 cm).
- 3 rough boards (10 x 78 cm, 2 cm thick) for the side and intermediate walls
- 3 rough boards (10 x 19 cm, 2 cm thick) for the intermediate partitions of the sheaths
- wood screws
- cordless screwdriver with drill attachment
- Wood varnish in the colour of your choice and brush
- Non-slip plugs
This is how you make and assemble your changing table
Before you start, a word of advice: Make the marks for the screws first and then drill the holes on them. That way the wood won't split.
- Place the back wall on the edge of the bottom plate and fasten it underneath with about eight screws.
- Now think about which side you want to store everything you need for the diaper change. If you want baby wipes, creams and the like to be on the right, you will screw a 78 cm long board about six times on the left side. Make sure it's snug against the bottom of the changing table.
- Place a second wall at a distance of 90 cm.
- Place the last side piece horizontally in front of you and draw two holes on each side and at a distance of 26 cm, 20 cm and 16 cm. If you want your cases larger or smaller, simply adjust the space in between.
- At the height of these marks now fix the smaller boards, like partitions.
- Place the finished piece on the right-hand edge of the bottom plate, making sure it touches well, and fasten it with screws, as before, in six places. The partitions in between should facing the inside.
- To make your construction stable, additionally fasten the intermediate partitions to the middle board. Now fasten the back wall securely on the three sides, placing two screws on each side.
-Now it's time to paint it: With the paintbrush, paint the changing table with one colour or multicoloured. Allow the paint to dry thoroughly.
- To prevent your changing table from slipping or making marks on the dresser, place small non-slip plugs on all the bottom screws. Now all that's missing is a stylish cover. They come in a variety of colours and designs. Make sure it has the right dimensions.
After you finish your work
Well, you've made yourself an extremely useful piece of furniture and you can cross it off your list of things you need for the baby. What a great feeling! There's more on your list for sure, but that's enough for today. Put your feet up - especially if you're the future mommy and take a break. How about a big gulp of freshly squeezed orange juice or a delightful sip of cold beer from Lidl for the future daddy? After the birth, mommy can enjoy some, too. Accompanied by a delicious Lidl pasta dish. It's quick to make and recharges your batteries. What about the chaos created by the DIY? Never mind! For now you've earned yourself a nice evening for two. Leave the rest for tomorrow.
You can now arrange your changing table and place your baby wipes, creams and whatever else you need there in the compartments. You'll find great baby products in your nearest Lidl store, too. Just drop by.